the trick to having amazing instagram photos and edits is presets! in this post, i will be showing you guys my favorite FREE presets from the app called preseters AND how to install them so you can use them on your own photos!
now, a lot of “great” presets cost money and that money can rack up pretty quickly.
here are some presets (NOT FREE) that i have always wanted and if you have money, i recommend these:
okay, enough with the paid presets, let’s get to the free stuff!!
my favorite free presets right now are from the app: preseters.
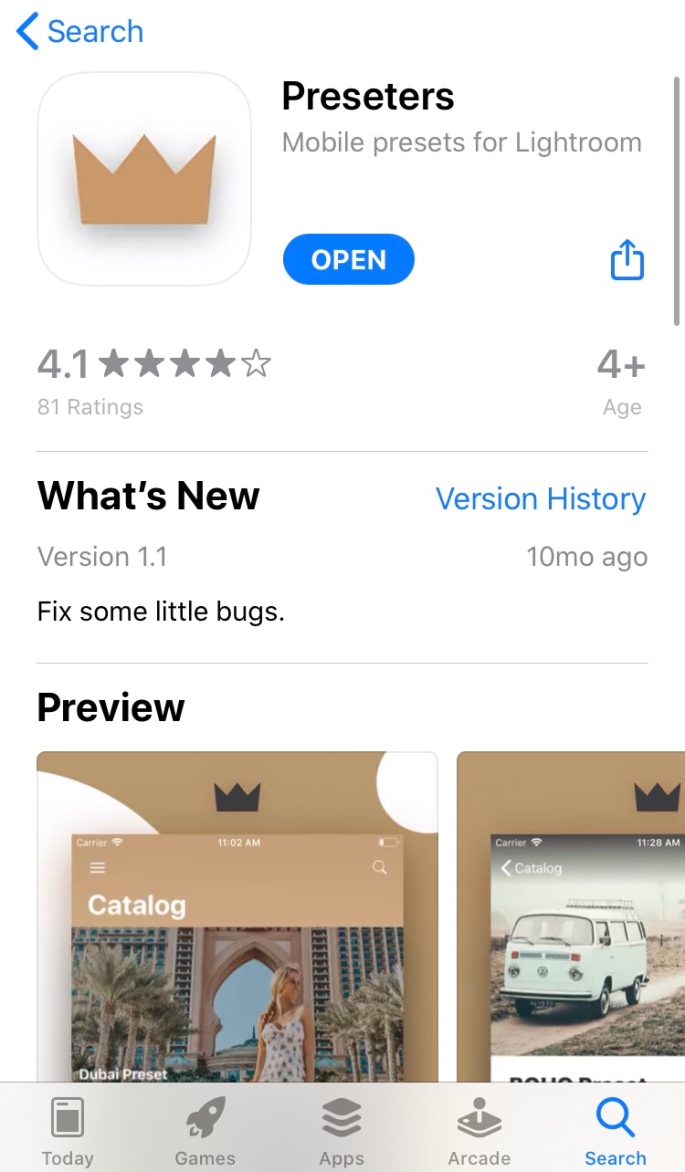
if you want free presets, DOWNLOAD PRESETERS! it is a free app that has HUNDREDS of beautiful presets like these:


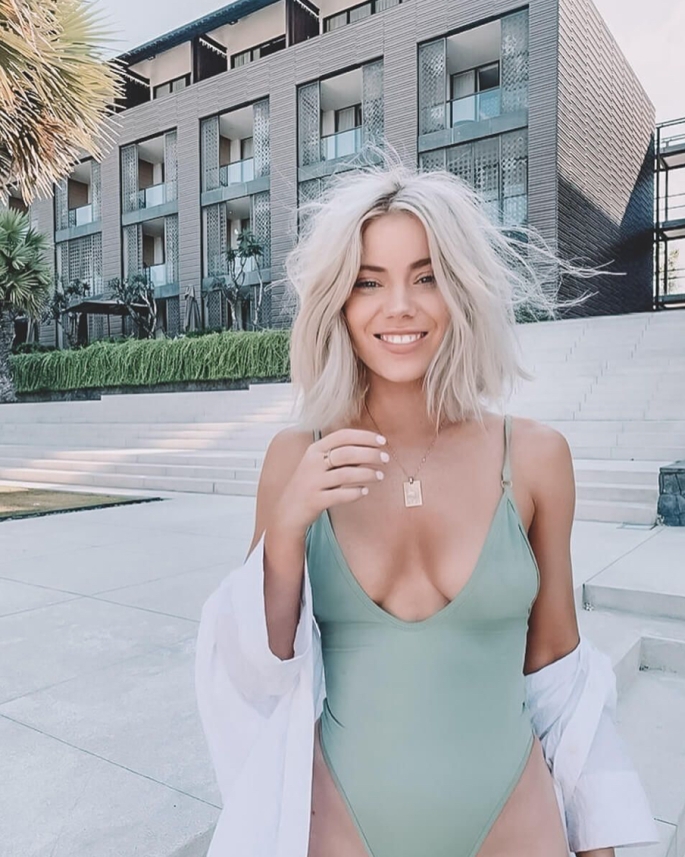
My Favorite Preseters Presets
now, lets get to my favorite presets from preseters. i have tried a whole lot of presets from this app and i’ll be the first to say they are all amazing. but, here are some of my favorites (to find these, click the magnifying glass search icon in the top right of the category page in the app and type in the bolded name below… the whole name is the exact name and you don’t need all of it):
✰ “caffeinated preset for phone”
CAFFEINATED IS GORGEOUS! it looks great with oranges and cafe photos.
✰ “fashionable bronze tan preset”
this preset is EVERYTHING. it gives photos a darkened, tan look and darkens greens for the most beautiful colors ever.
✰ “europe preset”
this preset would look amazing with city pictures and travel photos
✰ “insta blogger style preset”
this preset is a classic instagram influencer preset and makes colors pop out. if you want a fun, summery look, go for this preset.
✰ “model preset” (the one created on 5/21/20 and with a girl in a bikini on the beach)
this preset brings out the whites in your photo and would be good for beach pics.
✰ “outdoor pool preset”
SO GORGEOUS! this preset makes you look very tan and it tones down the colors to make a beautiful look. would be best with summer pool pics or ocean pictures.
✰ “relax preset”
another gorgeous prest. this is great for orang, brown, tannish photos and darkens colors. would look super cute with photos on beds or on couches indoors.
✰ “warm christmas weekend preset”
this preset is sooo pretty. it darkens out colors (specifically greens) and lightens blues for such a cute look.
✰ “on the way to the beach preset”
SOOO PRETTY! similar to the model preset, this preset brings out the whites and lightens colors. unlike model, this one does not focus on whites, rather summery colors and would AWESOME with beach photos or near resorts/white fences.
✰ “fjord preset”
this preset will only look good with certain photos. it REALLY brings out whites and makes photos look VERY light, so this preset is used best with only a certain type of photo. would look best with winter photos with snow and oranges.
aaaand those are some of my favorite presets from preseters!! new presets are added every day to this app! all the presets are gorgeous and very easy to use.
HOW TO INSTALL THESE PRESETS
now, lets get into the step-by-step tutorial (WITH PHOTOS) of how to install presets from preseters to the lightroom mobile app. these steps are in sections of three. the first photo corresponds with the first text line after the step __-__ heading and the second text line corresponds with the second picture… you get the idea.
make sure you have the adobe lightroom mobile cc app downloaded. it is free!
Steps 1-3:
first, go to the preseters app. download this if you do not have it already.


next, scroll through the catalog or search for a preset and when you find one you like, click on it.
it will show you the preset and prompt you to “download preset.” click on that.
Steps 4-6
it will ask you if you want to download the preset, and click download.


then click the top right arrow pointing down and click on the recently downloaded preset.
next, find the lightroom icon and click on it to put the preset into lightroom.
Steps 7-9
it will give you two options, click on launch lightroom now.


this is what the lightroom mobile app looks like.
now, find the image from the preset in your lightroom photo gallery (“all photos”). click on the top right circle with three dots in it.
Steps 10 & 11
click on “create preset.”


name your preset (i suggest naming it whatever it was called in preseters) and you can put it in a preset group. i recommend creating a group called “preseters” to store all of your preseters presets.
once you have created the preset, you can delete the original photo from preseters from your lightroom photos if you want to declutter your lightroom photos. this will not affect the created preset.
NOW YOU ARE READY TO USE THE PRESET! when you want to use the preset, import the image you want to use it on. find that image and click on it.
USING THE PRESET
Steps 12-14


scroll to the right of the bottom tool bar and find where it says “presets.”
click on that and find the preset you want to use. when you’ve found the right one, click the check mark on the bottom right.
Steps 15 & 16


when you are done making adjustments, click the box with an arrow pointing upwards in the top bar. then, click export to camera roll and wait until it is done exporting.
and that’s it! use this technique over and over again for installing all your preseters presets! it’s super easy and best of all, FREE! you know me, i love my free stuff so this is my favorite way to edit photos. hope this post helped you find a new app for presets and some ideas of which presets to download first!
what are you waiting for? go get preseters and try this out!
thats all for now!! thanks for reading (:
xoxo,
sarah c